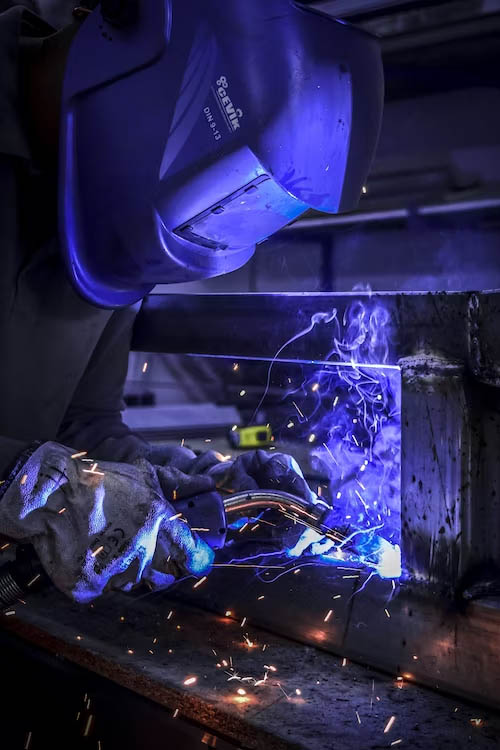
MIG welding (Metal Inert Gas welding) is a versatile process that uses an arc between a continuous wire electrode and the base material to produce high-quality welds. A key component is the shielding gas that protects the weld pool from contamination. Setting the optimal gas pressure and flow rate is crucial for proper shielding.
ARGON PRESSURE FOR MIG WELDING – TO PROTECT THAT BEAUTIFUL WELD POOL
Welding Town
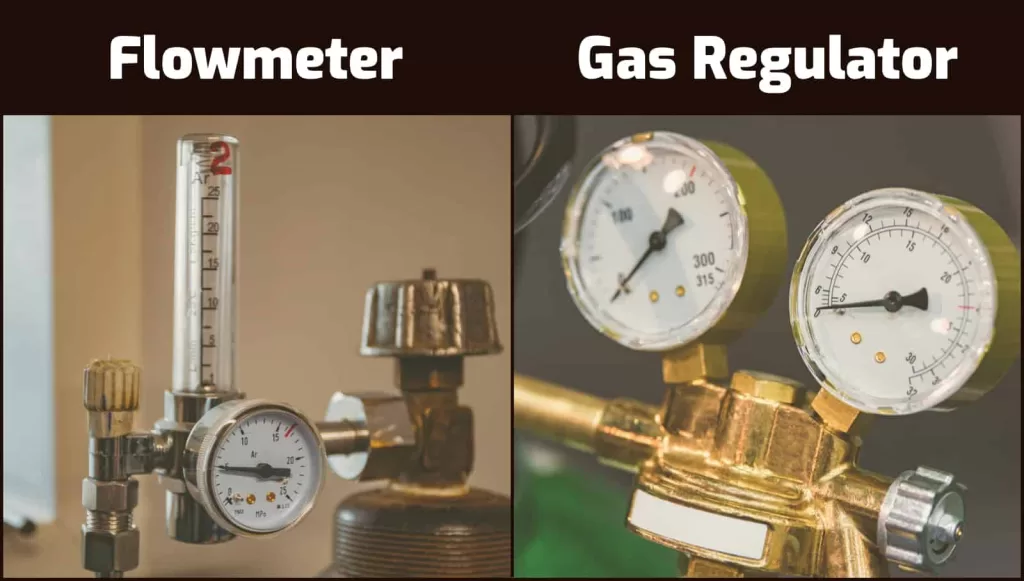
Getting the gas pressure wrong can lead to issues like porosity, poor fusion, and excessive spatter. This article will cover the factors that determine ideal MIG welding gas pressure, including:
- Wire diameter
- Material thickness
- Welding position
- Travel speed
LET’S GET GASSED UP!
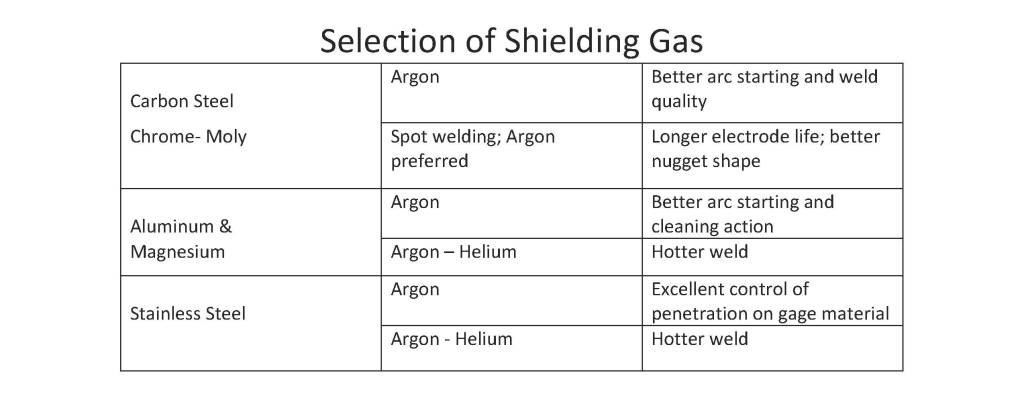
When MIG welding, you need the right shielding gas to protect that beautiful weld pool. Think of gas as the bouncer at an exclusive club, keeping the riff-raff contaminants out!
The most popular options are:
- Argon – Colorless, odorless, and ideal for steels. This bouncer doesn’t mess around!
- CO2 – Cheaper but less stable. Better suited for thin materials.
- Helium – Lightweight and great for penetration. Can be a little wild, though.
- Nitrogen – Works with stainless steel but can get feisty. Use sparingly.
- Oxygen is not inert, so it can party too hard and create oxides.
You can use these solo or mix-and-match to get the right vibe. Some sweet combos:
- 75% Argon / 25% CO2 – Tried and true for mild steel.
- 90% Helium / 7.5% Argon / 2.5% CO2 – Classy blend for stainless.
- 50% Helium / 50% Argon – Smooth operator for aluminum.
The goal is to find the perfect posse to keep your weld protected. But don’t overwhelm it! Too many bouncers create chaos. Start with a pairing like argon and helium, then tweak the ratio from there.
Keep in mind the type of metal you’re working with. Match the properties of the gas to the needs of the material. It’s about balance!
Now grab your favorite gas buddies and get welding! Don’t forget the queue stretches around the block for quality welds, so bring your A-game.
GOLDILOCKS AND THE GAS PRESSURE
Alright, we’ve got our shielding gas squad. Now we need to set the pressure!
This is vital for weld quality. Too low, and contaminants sneak in, causing porosity. It’s too high, and you get turbulence that also allows contamination. We just want to be right in that sweet spot.
Think of it like the story of Goldilocks and the Three Bears:
- Too hot porridge = too high pressure
- Too cold porridge = too low pressure
- Just right porridge = optimal pressure
You want the pressure that’s not too weak or strong – just right for excellent weld protection!
Low-pressure symptoms:
- Porosity – harmful gas bubbles in the weld
- Discoloration – from oxidation and contamination
- Poor fusion – lack of penetration into the base metal
Fix by slowly increasing the flow rate.
High-pressure symptoms:
- Turbulence – swirling sucks in outside air
- Spatter – sparks and metal drops going rogue
- Irregular bead shape – uneven coverage
Fix by slowly decreasing the flow rate.
Balanced pressure gives:
- Smooth weld bead – even shape and edges
- Good penetration – into the base metal
- Minimal spatter – tidy weld appearance
- No porosity – avoids weakening the joint
The optimal pressure depends on factors like:
- Material – penetration needs based on type/thickness
- Wire speed – fast melting of filler requires more gas
- Travel speed – faster motion demands greater coverage
Don’t crank the regulator randomly! Start with manufacturer specs, then fine-tune until you find the Goldilocks pressure.
Patience grasshopper! Perfecting pressure takes practice. But once you find that sweet spot, you’ll be welding like a pro.
Now grab your bears and porridge – it’s time to dial in your settings!


