Welding aluminum is both an exciting and challenging task, especially for beginners. While aluminum’s lightweight and corrosion-resistant properties make it an incredibly versatile metal, its high thermal conductivity and low melting point present unique challenges. But with the right techniques, you can successfully weld aluminum and achieve clean, strong joints.
The Complexities of Welding Aluminum
Aluminum isn’t like steel. Its high thermal conductivity quickly dissipates heat, making it harder to establish a consistent weld pool. At the same time, its low melting point means you risk burning through the material if you apply too much heat.
Another issue is aluminum oxide. This naturally occurring layer is incredibly tough and melts at a much higher temperature than the base aluminum. If not properly cleaned, it can prevent proper fusion and result in weak welds.
Add to that the fact that aluminum’s appearance doesn’t change much as it heats up—it doesn’t glow red like steel—making it harder to gauge its temperature. Beginners often find themselves struggling to balance heat input and control.
Preparing Aluminum for Welding
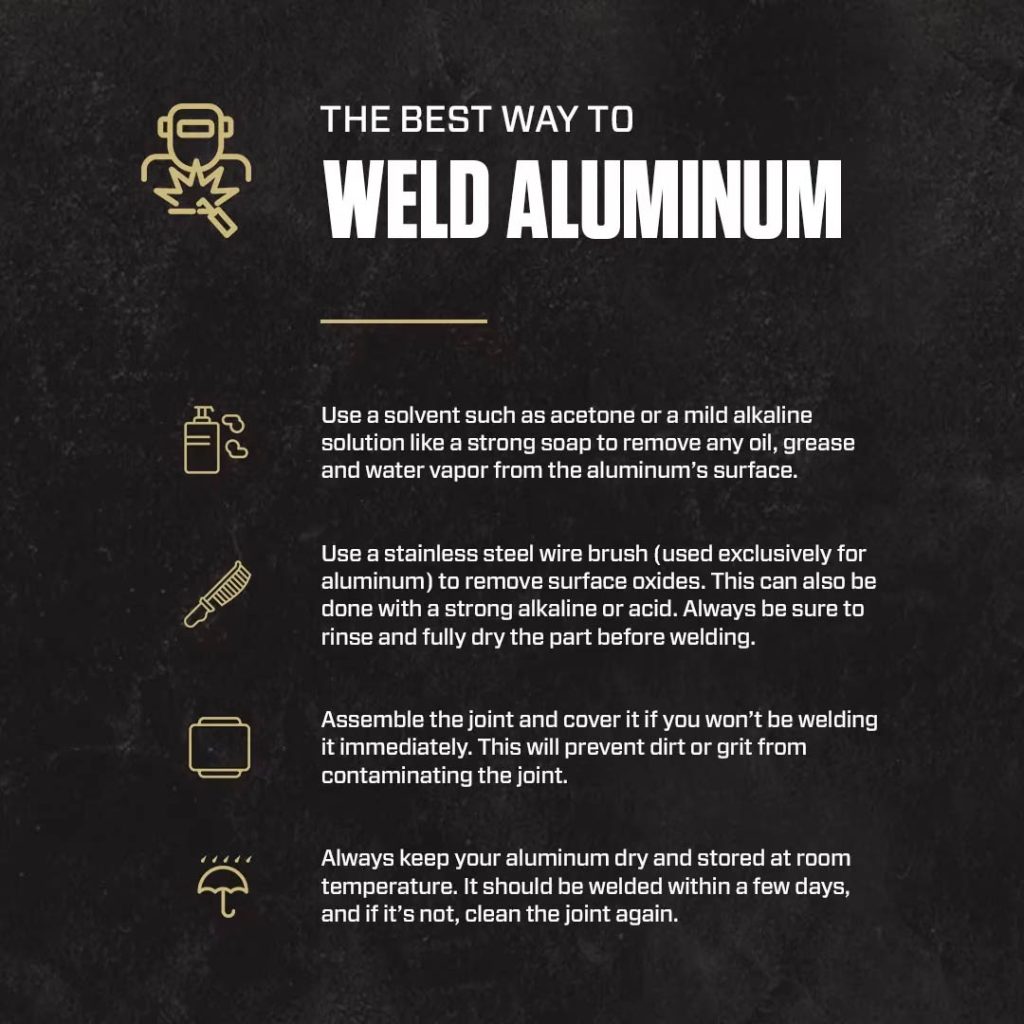
Proper preparation is essential for a successful aluminum weld. Begin by cleaning the metal thoroughly to remove grease, oil, and oxide layers. Use a dedicated stainless-steel brush to clean the surface. Avoid using a brush that has touched other metals, as it could contaminate the aluminum.
For heavily oxidized surfaces, you may need to use a chemical cleaner or abrasive pad. Once cleaned, handle the aluminum with clean gloves to prevent transferring oils or dirt from your hands.
Choosing the Right Welding Process for Aluminum
TIG Welding (GTAW)
TIG welding is widely regarded as the best method for welding aluminum, especially for thinner materials. It provides excellent control and produces high-quality welds. Use an AC (alternating current) setting, which helps break up the aluminum oxide layer and allows better fusion.
A sharp tungsten electrode is essential for TIG welding aluminum. Many welders prefer using 2% lanthanated tungsten for its stability in AC applications. Pair it with pure argon shielding gas to protect the weld area from contamination.
MIG Welding (GMAW)
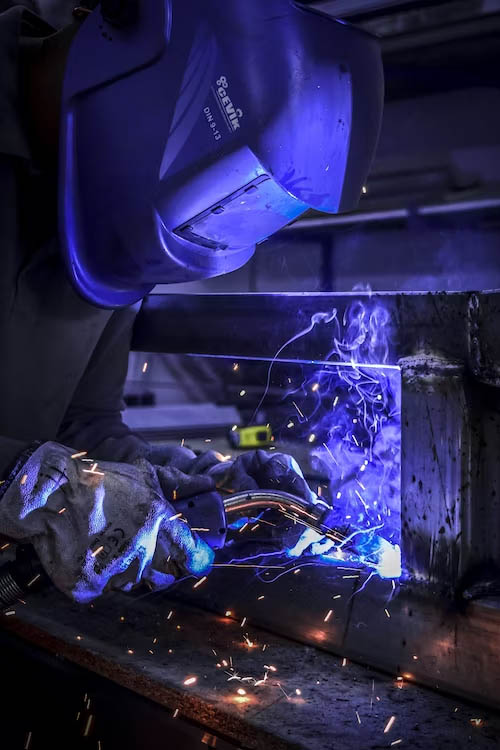
MIG welding is another popular choice, particularly for thicker aluminum sections. It’s faster than TIG welding but requires careful setup to avoid common problems like burn-through and excessive spatter.
Choose a spool gun or push-pull system to feed the soft aluminum wire without kinking. Use a 100% argon shielding gas and select the right filler wire—ER4043 and ER5356 are the most commonly used options. ER4043 provides better weldability, while ER5356 offers higher strength and corrosion resistance.
Stick Welding (SMAW)
While stick welding is not ideal for aluminum due to its messy results and lack of control, it can be used in a pinch for non-critical applications. Specialized aluminum electrodes, such as E4043, are required, but beginners often struggle with slag inclusions and poor bead appearance.
Techniques for Successful Aluminum Welding
Preheating
Preheating aluminum to around 300°F (150°C) can help reduce thermal stress and prevent cracking, especially in thicker pieces. Use an infrared thermometer or temp stick to monitor the temperature. However, avoid overheating, as aluminum loses strength rapidly at elevated temperatures.
Welding Speed
Aluminum requires faster travel speeds compared to steel. Moving too slowly can cause excessive heat buildup, leading to burn-through or a large, uneven weld bead. Practice maintaining a steady hand and consistent speed.
Controlling the Heat Input
Since aluminum dissipates heat quickly, maintaining a proper heat balance is critical. For TIG welding, use a foot pedal to fine-tune the amperage as you weld. With MIG, adjust the voltage and wire feed speed to match the material thickness.
Avoiding Porosity
Porosity is a common problem in aluminum welding, often caused by moisture, oil, or insufficient shielding gas. Ensure your shielding gas flow rate is correct and maintain a consistent nozzle angle to protect the weld pool from atmospheric contamination.
Post-Weld Cleaning and Inspection
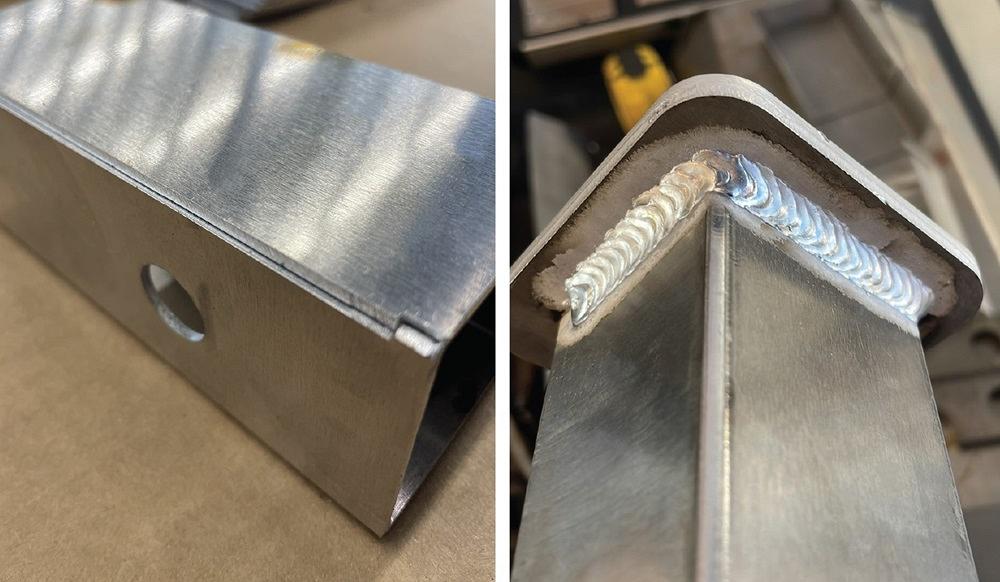
After welding, clean the weld bead to remove any oxide or soot. Use a stainless-steel brush or chemical cleaner for this purpose. Inspect the weld for any cracks, porosity, or incomplete fusion. Aluminum welds should appear smooth and free of defects.
Wrapping It Up
Welding aluminum may be intimidating at first, but with patience and practice, you can master the process. Focus on proper preparation, choose the right welding method for your project, and refine your heat control and speed. Over time, you’ll develop the skills to produce strong, clean aluminum welds, whether you’re repairing a part or creating something new. Keep practicing, and don’t be afraid to experiment with different techniques to find what works best for you!


