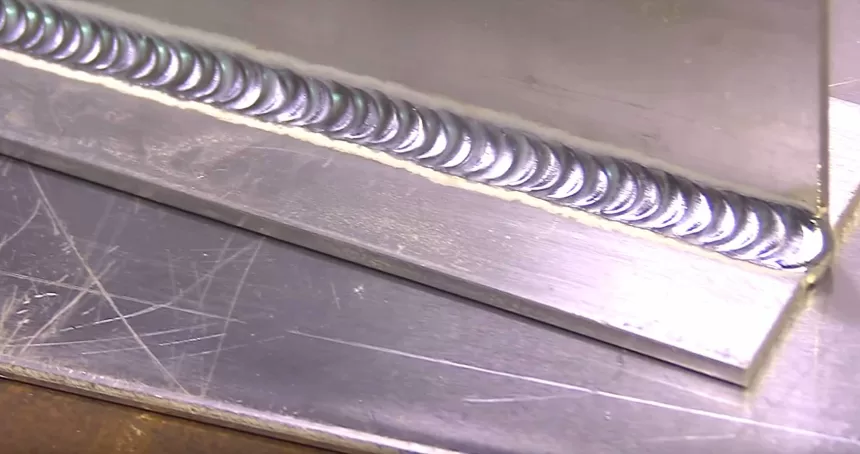
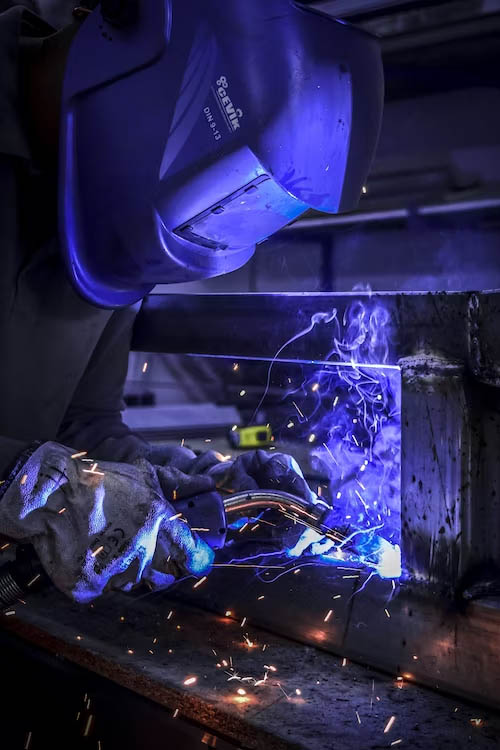
When they’re learning to weld, most people use scrap pieces of mild steel. Mild steel is easy to work with, relatively consistent, and very forgiving of a beginner’s mistakes. It’s also fairly common in the wild and will be a frequent target for welding, so it’s good to learn the practicalities right away.
aluminum mig welding
Welding Town
Aluminum is a different story entirely. It shows up in construction, automotive uses, and many more. Aluminum is used all over the place because it’s corrosion-resistant, relatively durable for its weight, and exceptionally lightweight. It also forms alloys with other metals quite well, generally introducing a variety of properties that can be beneficial in specific uses.
The trouble is that many of aluminum’s benefits are also why it can be tricky to weld. Welding aluminum presents several unique challenges, including:
- Despite its qualities, aluminum requires more heat than mild steel to weld properly.
- The weld puddle for aluminum looks very different than steel, so your visual cues will be different.
- It’s surprisingly easy to burn through aluminum and drop your weld pool right through the material, especially with thinner material.
- Different alloys require different kinds of filler to weld properly, and picking the appropriate filler can be difficult.
Welding aluminum is often considered difficult, but it’s not necessarily as tricky as it is different. If you’re used to working with mild steel, you’ll need to break yourself out of your habits and turn off your mental auto-pilot to weld aluminum properly.
Can You MIG Weld Aluminum?
MIG welding is entirely possible to use on aluminum, yes. Most professionals recommend TIG welding if possible, but MIG is perfectly acceptable (if a little more challenging) to get right.
Depending on who you ask, MIG might be better for thinner metal gauges, or TIG may be the preferred method.
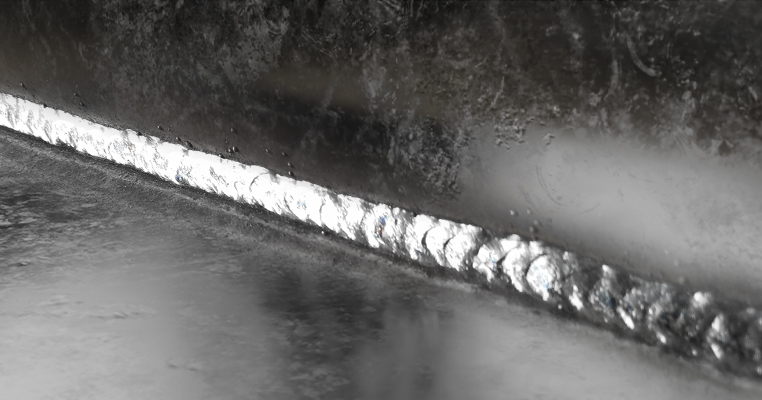
This decision is largely down to preference and the comfort level of the welder; if you’re a beginner, TIG may be a better alternative if you have the equipment.
The key is the type of aluminum you are welding and the type of welder you have. Aluminum is a generic term and refers to many kinds of alloys, which we’ll get to here in a bit. If it’s an alloy compatible with MIG welding, you can weld it with a MIG gun.
What Equipment is Necessary to MIG Weld Aluminum?
If you’re planning on MIG welding aluminum, you must get your equipment and tool settings configured before you begin. Otherwise, you risk the metal not reacting as you expect, and the whole project can fail in various ways.
What do you need?
1. Cleaning Tools
One of the essential parts of welding aluminum is ensuring that the surface you’re working with is clean. This step is only sometimes necessary for particular welding projects and metals, but it’s a requirement for aluminum.
Why?
Aluminum oxides are much more heat-resistant than plain old aluminum or aluminum alloys. If there are any oxides on your work surface, the heat from your welder will melt the aluminum, but not the oxides. The aluminum melts at around 1200 degrees, while the oxides don’t melt until a whopping 3700 degrees! Those oxides will sink into your weld puddle and create inclusions, pockets, and weak spots in the weld.
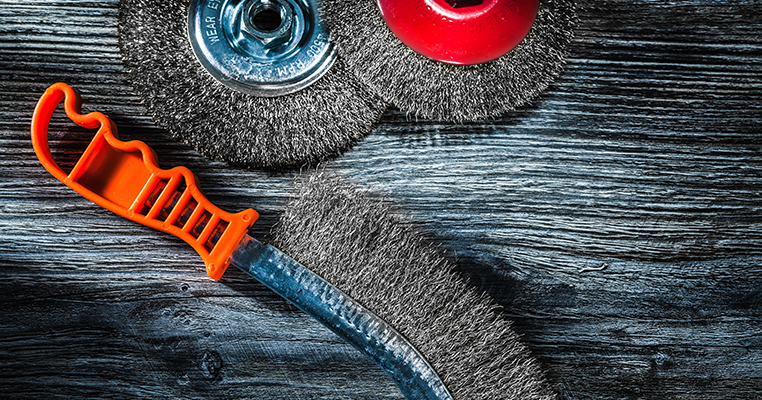
Cleaning is also essential when welding aluminum because the oxide coating on aluminum can make it more challenging to adhere to. You may need to use a wire brush or sandpaper with your wire wheel for the best results.
After removing dirt, corrosion, and coatings, you must clean both of the parts you want to join with solvent or soapy water.
Not only is it critical to clean your surface before welding, but it’s also just as important to clean it the right way. For example, a steel brush can contaminate the surface just as quickly as if you left it dirty. An aluminum brush is recommended, and you’ll want to be careful with softer aluminum to ensure that you don’t muddle over inclusions rather than brush them away.
2. Filler Rods of the Proper Alloy
Selecting the right filler rod can be a significant chore. The wrong alloy can leave your weld susceptible to cracking or breaking, weaker than the joint should be, or otherwise not suitable for the job.
Choosing the appropriate alloy filler depends on the answers to several questions:
- What is the base designation of the materials?
- Does your weld need to withstand prolonged high temperatures?
- Will the weldment be anodized when completed?
- Does your weld have specific flexibility, strength, or toughness considerations?
- Will it need to be heat treated?
These questions and a chart like this can help you decide what filler is best for your job.
That said, this is a beginner’s guide. That means you’re likely welding practice materials or learning directly from a mentor with more specific, practical advice. Everyone who teaches welding has their own concept of what is most important, so be sure to ask them for specifics if necessary.
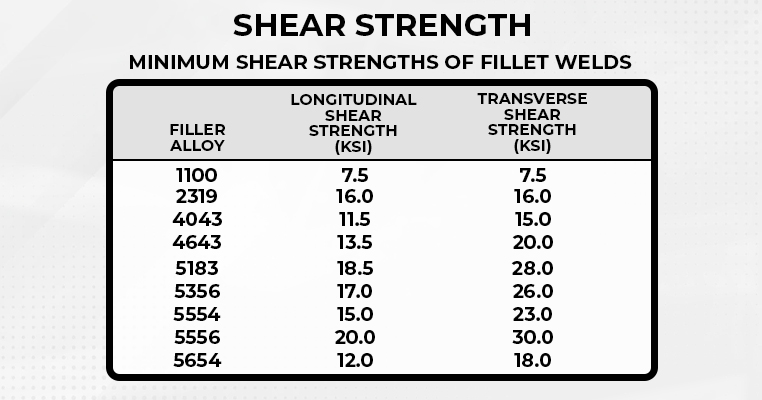
To further narrow things down, filler rods 4043 and 5356 generally apply to a vast majority of aluminum welding applications. It’s not perfect – there are certain situations where other rods will be necessary – but keeping those two on hand will cover many of your bases.
If you’re curious about the designations for filler rods, here’s a rundown. In short:
- 1XXX is close to pure aluminum.
- 2XXX is a copper alloy primarily used in heat treatment welds.
- 4XXX is a silicon alloy and is extremely common in various forms.
- 5XXX is a magnesium filler typically used in high-strength welds.
Each has numerous pros and cons, so choosing the appropriate filler is critical in many applications.
3. The Right Gas
Picking the correct gas is also vital for welding aluminum. Your choice of shielding gas will be a primary factor in the quality of the resulting joint.
For the vast majority of projects, the go-to choice is Argon gas. 100% pure Argon is a good shielding gas because of its ionization potential and ability to keep a weld clean.
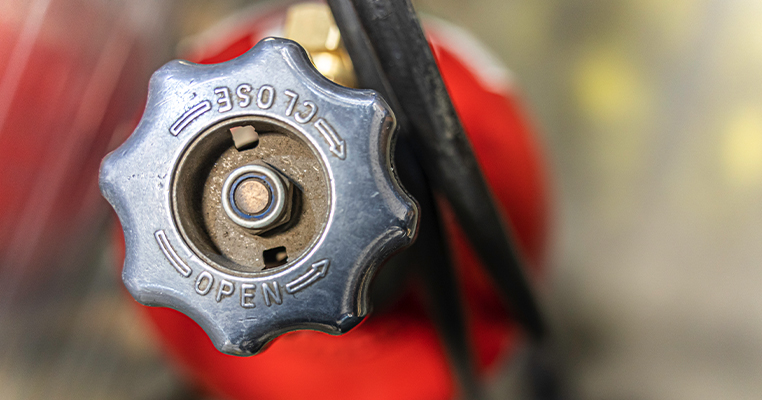
The alternative, used by many pro welders, is a mixture of Argon and Helium. Helium offers a more significant ionization potential and thermal conductivity, making for broader, deeper welds. As a beginner, a wider, deeper aluminum weld is much more likely to burn through, so stick with Argon until you’re comfortable with it. Helium is best added to the mix for more extensive, thicker pieces of aluminum where weld depth and penetration are required.
The critical piece of information here is that using CO2 in your gas mixture won’t work, which is why many attempts to MIG weld aluminum fail.
4. What Settings are Best for MIG Welding Aluminum?
Properly configuring your MIG welding equipment is also important.
First, set your gas flow rate properly. You need enough gas flow to shield your weld correctly. Since you’ll be moving reasonably fast, a flow rate of around 20-30 cubic feet per hour is the general range to work in.
Second, the voltage of your welding gun should be appropriately configured. Usually, a voltage of around 21-24 is ideal. You’ll also want to ensure your MIG gun is set to DCEP (Direct Current Electrode Positive) polarity for the proper process.
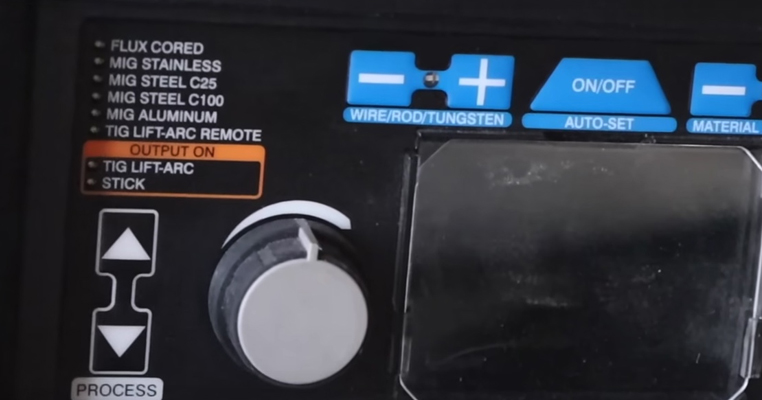
Finally, welding aluminum is best done with the spray welding procedure. With this procedure, your arc is constant, and tiny molten filler droplets are sprayed from your gun along the arc and onto your weld surface.
Another common issue beginners run into is a cheap welding gun that jams rather than smoothly feeding the filler wire. Your gun needs a fast feed speed for its filler for this process to work correctly. Wire feed settings can also vary depending on the thickness of the wire you’re using.
5. What’s the Right Technique for MIG Welding Aluminum?
Welding aluminum is a high-heat process. Aluminum melts quickly, but it’s very thermally conductive, so the heat dissipates just as readily. This characteristic means it’s susceptible to variations in movement, and if you move the wrong way, your weld won’t work.
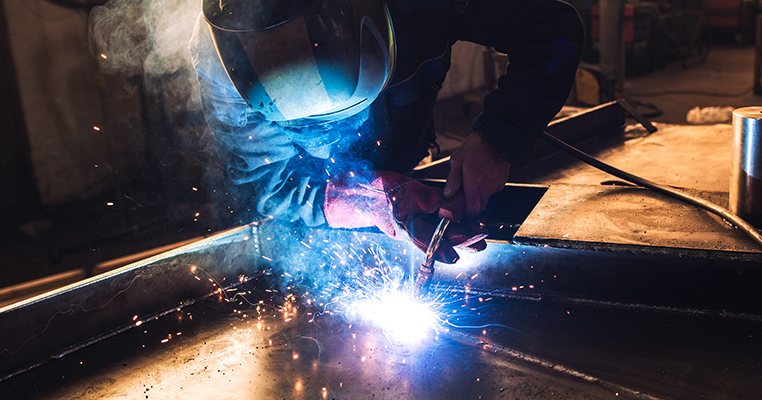
Proper aluminum welding requires three things.
- First, you need a fast travel speed. This requirement is due to the heat involved; if you linger too slowly as you move, you’ll put too much heat into your materials, and risk burn-through. This scenario is prevalent with newbies attempting to weld aluminum. The travel speed required is much faster than with steel, and it will feel uncomfortably fast until you get used to it.
- The second requirement is using the forehand technique. Where a backhand technique angles the gun away from the direction of travel, this does not facilitate good shielding gas coverage when you’re moving as fast as you need to. That means regular air will get into the weld pool and contaminate it. The forehand technique, where you tilt the gun 15 degrees toward travel, ensures proper shielding.
- Third, you want to use simple weave patterns as you weld and avoid complex patterns. Using zigzag, looping, or other welding patterns is a technique used on steel to widen a weld and let heat linger a bit longer to increase depth.
Both are bad when welding aluminum and dramatically increase the risk of burn-through.
In cases where you’re welding thicker pieces of aluminum or need a larger fillet weld, multiple straight passes are better than an attempt at a wider weave.
My Weld is Bad: What Went Wrong?
If you’ve tried out a few aluminum welds using the MIG process and had mixed results, there are a lot of possible points of failure to diagnose. You can start by narrowing it down based on what went wrong.
1. Your weld burned through.
Burn-through or melt-through is caused by excess heat in one spot. There are numerous possible causes, but the most common for beginners is moving too slowly across the joint. Even if you think you’re moving fast enough, it’s likely that you aren’t.
It’s also possible that your joint type isn’t appropriate for the project. Instead of using an edge joint, you may benefit from a corner joint instead, or vice versa. This decision is very situational, however. Similarly, using thicker materials as a base might be appropriate, though you don’t always have a choice.
For more significant welds, you may need to work in shorter bursts to allow the material to dissipate some heat along the way.
2. Your welds are dirty.
Reactions or inclusions in the weld pool usually cause dirty welds.
First, check to make sure you’re using the proper technique. Forehand or push welding is necessary to properly shield your weld as you move, and if you don’t have the angle correct, you’re likely to end up with very dirty welds.
If you’re using the correct technique, it’s possible that your voltage needs to be higher, particularly considering your amperage. You won’t get a spray transfer without sufficient voltage, and your weld won’t work.
Also, make sure you’ve correctly cleaned the surface using aluminum-only tools. The wrong kind of tools will leave particulate matter behind that will cause inclusions in your weld.
Finally, double-check to ensure you’re using the correct shielding gas and filler rod. If either is incorrect, your welds will end up pretty bad.
3. Your welding gun gums up.
Two common problems can crop up, particularly with low-quality MIG welders.
First, the filler material burns back into the gun and causes problems. This scenario usually occurs if you haven’t maintained the proper tip-to-work distance along your weld, or right at the end of the weld.
There are a few “cheats” you can use to get this right, so talk to your mentor about it.
The second is when the feeding process for your filler wire is unsteady or prone to coiling up behind the gun, known as birdnesting. There are several common causes of this, which you can read more about here.
Putting It All Together
Many people claim that MIG welding aluminum is impossible. Some have never attempted to weld aluminum because they believe it is, and they are intimidated by it; others have had a bad experience trying. Others say so to warn off beginners from doing something much more challenging than welding steel. The truth is that MIG welding aluminum is possible; it’s tricky and requires proper settings and technique, but it’s easier than the rumors make it out to be.
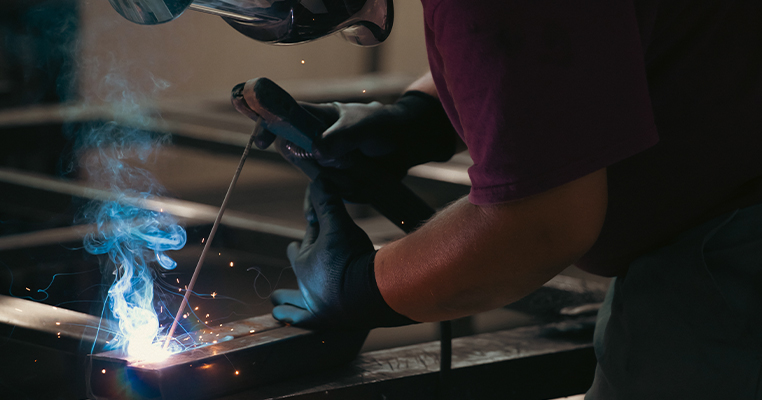
However, since there are so many ways that aluminum welding projects can go wrong, it also requires practice and training to get them right consistently.


